Welcome to Your Interactive Support Guide 🤓
This guide is split into 5 steps to help you set up your retail shop easily and quickly! We recommend setting up your shop with this guide next to you. This is fully responsive, so feel free to use your phone or tablet as an extra screen.USEFUL NAVIGATIONS: 📱
- The "i" icon on the menu bar takes you directly to all the steps. Feel free to skip steps and find everything you need there!
- The home icon on the menu bar takes you back to your support page.
- If you are following this guide step by step, you can use the left, up, and right arrows to help you easily navigate through.

How to Fill out the Add a Business Form 📝

1. You will find a link to the form at the top or the bottom of the platform.
2. Fill in the various fields:
What would you like to do? This allows you to select whether you would like to be able to trade and sell good through the platform or just appear as part of the directory. PLEASE NOTE: If you select directory, your exposure on the platform will be reduced as people won’t see that they can buy from you, additionally, you won’t be able to make the most of our lower transaction costs.
What type of business are you? Select what your business type is, you can select more than one.
What services would you use? As retail and hospitality, you have the choice to use collection or delivery services. Also, as hospitality you can opt to use our table booking system which will be released soon.
Business Name This is the name of the business that your customer will see, which may be different to what appears on Companies House.
Business Address The business address that the company is located at, which again may be different to what appears on Companies House.
Company Name The name of your company as it appears on Companies House or your Sole Trader information.
Company Number The company number as it appears on Companies House, if you aren’t a registered company then put N/A.
Company Address The address your company is registered to on Companies House.
PLEASE NOTE: These details are required as when you register with our payment provider Stripe, these details will be pre-filled.
First Name & Last Name Your name so we know who we are talking to!
E-mail The best email to get through to you, this will only be used to send updates regarding your account on the platform.
Phone number This helps us out incase we ever need to talk to you.
3. Press Sign Up Now!

How to Login to Your Dashboard 🔑
1. Once you have submitted your business sign up form and your request has been approved you will receive an email which prompts you to reset your password.
2. You will receive a second which outlines the steps you need to complete in order for your shop to become live.
3. Once your password has been reset, you can visit admin.weareloals.co.uk and enter the email you signed up with and the password you have set to login to your dashboard.
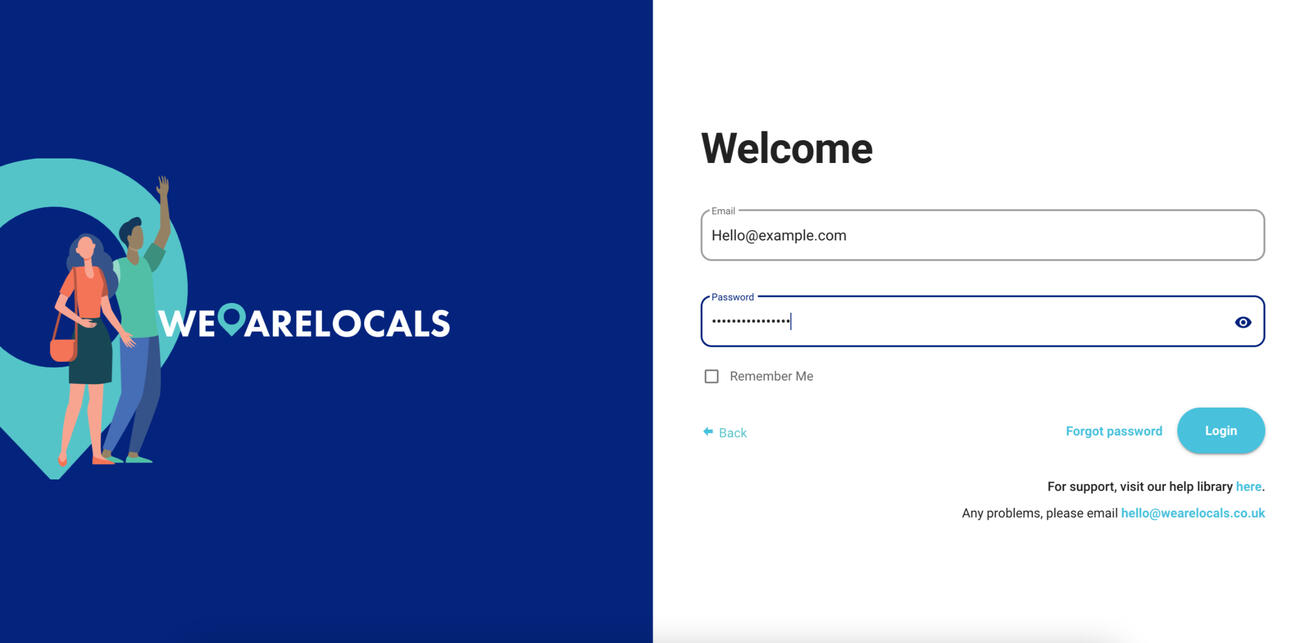
2. Once logged in, you will see your default dashboard.

Understanding Your Dashboard Controls 🤓
You can find these dashboard controls on the left hand side of your screen.
Retail This opens down a drop-down list for access to My Orders, Delivery Planner, and Planned Deliveries.
My Orders If you offer collection & delivery service, you’ll find all your orders here in real-time.
Delivery Planner This is where you plan your delivery routes. It shows you a map with pinpoints of orders that are in ready status.
Planned Deliveries This shows you all of your planned deliveries for the day.
Product This opens down a drop-down list for access to My Product List and Product Categories.
My Product List This shows you all your products. Here you can add, delete, bulk edit, or duplicate products.
Product Categories Here you can add / delete your categories, time automate your categories and set your landing categories.
Vouchers You can create discount codes for your customers here.
Advertising Here you can find your shop's URL, generate your QR code, or find the HTML code to embed your shop into your website.
Reports Here you can export sales reports of your chosen date.
Settings You will find all your dashboard settings here.
Help This will bring you to the support library.
TIP You can hide the dashboard menu by pressing onto the arrow button to make your screen much bigger to work with! Also, once you activate your services, you will see quick access toggles on the right-hand side!

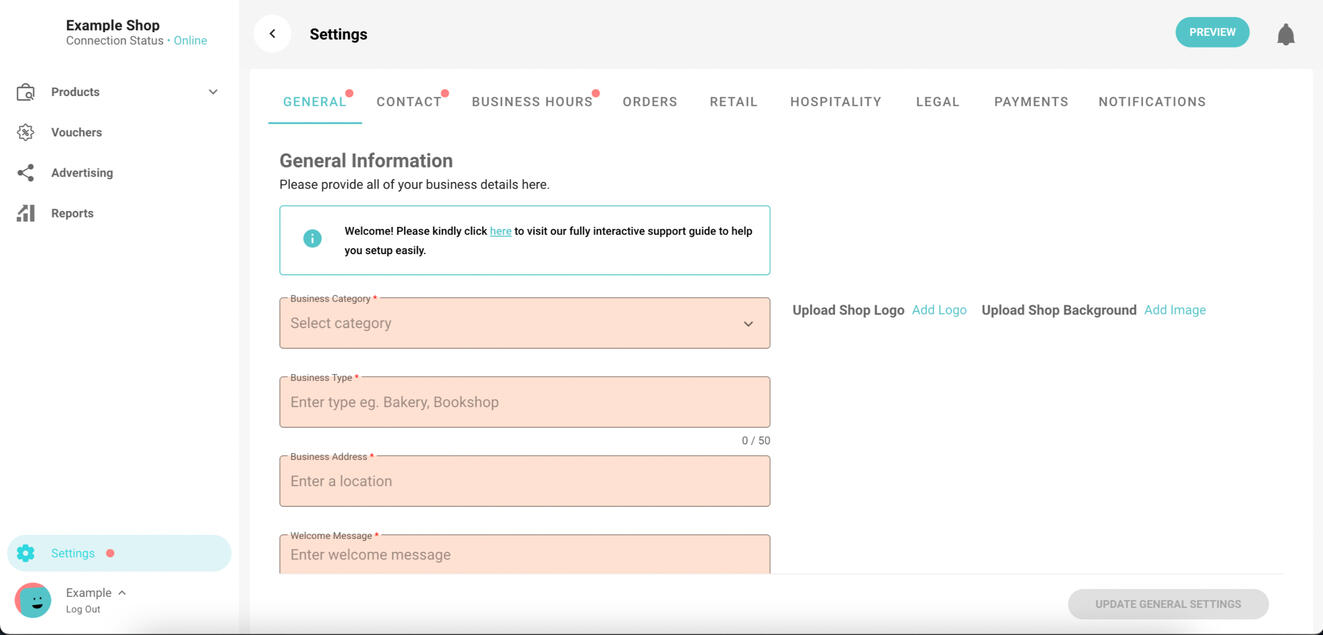
Understanding Your Settings Tabs 🤔
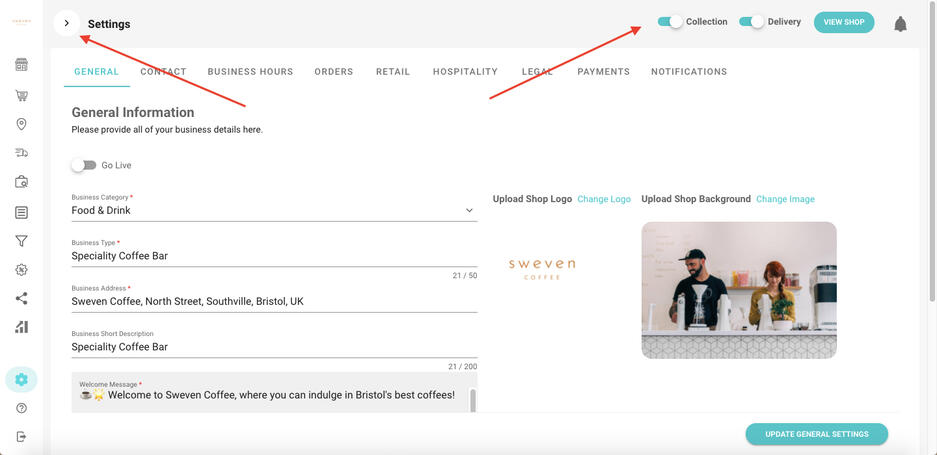
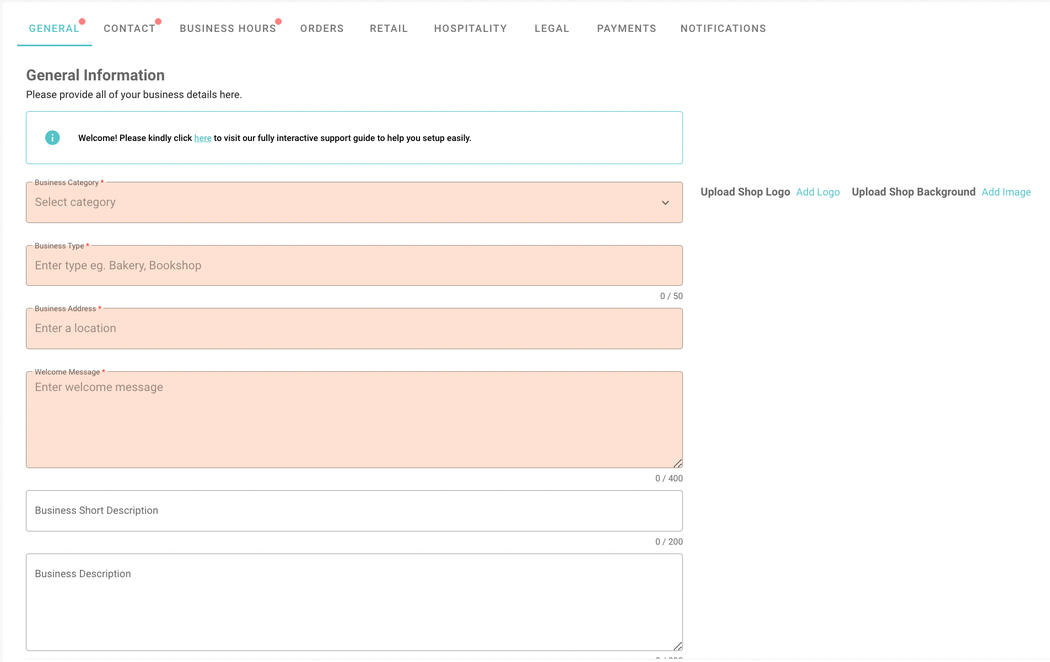
You can find the settings tab on the bottom left-hand side of the screen.

General This is your 'about' section where you can manage your business category & type, description, address, welcome message, shop background image and logo.
Contact This is where you can manage your customer contact details like email, phone number, website and social media links.
Business Hours This is where you can let your customers know about your opening hours.
Orders This is where you can add a custom order fee to all your services, a placeholder text to your checkout note box for your customers.
Retail This is where you setup your COLLECTION and DELIVERY services.
Hospitality This is where you setup your in-house TABLE SERVICE, TAKEAWAY and DELIVERY services.
Legal This is where you put in your T&Cs, if you have any.
Payments This is a very important section where you will be setting up your Stripe account with us. Stripe charges 2% plus 22p with a setup time of 10 mins.
Notifications This is where you setup your email notifications for when your order comes through! As this is a real-time web app, when you have your browser open, on top of email notifications, you will also hear a loud DING as well whenever orders come in.

Complete Your General Settings ✍️
Go to Settings > General - This is your ‘About Us’ section where it will be displayed in your shop front. Update this as much as you can.
1. When you first sign into the dashboard, you will be taken straight to the general settings page. You will need to fill in as much of this as possible, but at least all those with red asterisks:
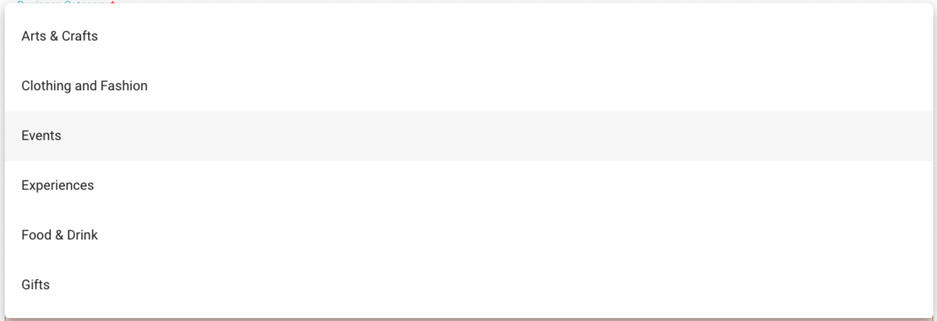
2. Fill out Business Category Select from the drop down list, the closest category to what your business is.
3. Business Type This is where you can be more specific about what your business is.

4. Business Address Enter your business address, this will link to a google map which will appear on your shop site so ensure it is correct.

5. Welcome Message This is what you want your customers to see when they land on your page.

6. Business Short Description This is what appears when people visit the platform to introduce them to what your business offers.

7. Business Description This displays when you click ‘About’ on your shop, so this is where you can put in more in-depth information and the story behind your business here. If you don't have time, you can put in the same information as your welcome message.

8. Upload Shop Logo The logo that you have for your business. Ideally, square works best and should be as high quality as possible.
Upload Shop Background A header that will appear at the top of your page on the platform. Should be as high quality as possible and capture the essence of your business.

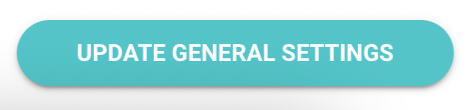
9. Remember to click Update General Settings to save.
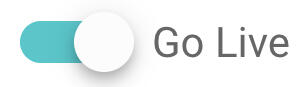
TIP This toggle is a GO LIVE toggle. So, only switch this on when you are ready to start trading.